5 Steps To Use the DFY Vision Board Content Bundle

Vision boards have been a hot trend in the last few years and there is a reason for that – visualizing something can help you attain it.
To help you capitalize on this I’ve created a DFY Vision Board Inspiration For A New Life Content Bundle.
The big question you might have is how do I make this work in my business? Or what can I do with the content?
Here are some ideas and ways to use it.
So let’s begin…
DFY Vision Board Inspiration For a New Life PLR Bundle
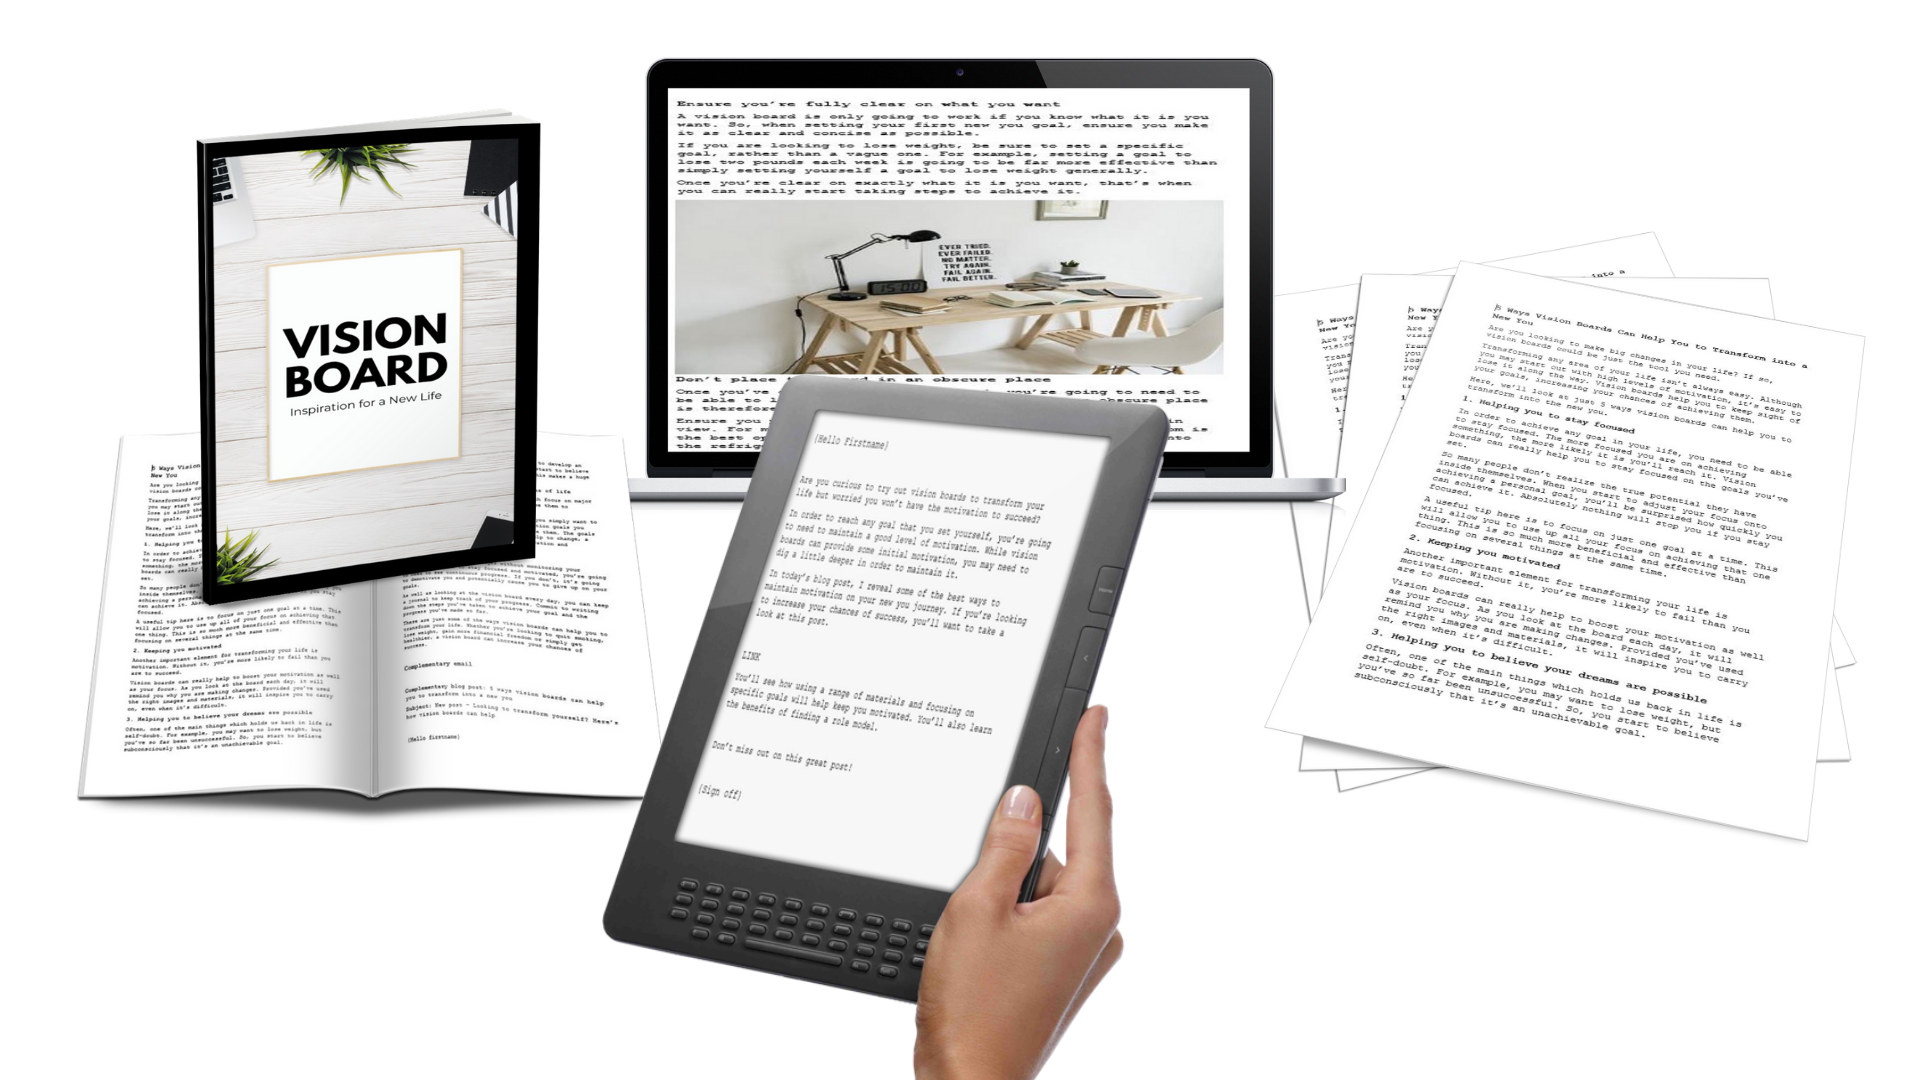
In this, you’re going to get the foundation of your product. This includes the blog posts, emails, social media posts and the report (blog posts compiled into a report).
Use this to gain your audience. How?
Step 1: Post Your Content
Take each of the blog posts and schedule them on your site. You can set this up as five different posts or make an ultimate blog post and combine one, two or all five pieces of content.
There really is no right or wrong way to do this. Think about your objective.
Examples of objectives might be:
- Is it to inform people about vision boards?
- Are you posting it to recommend products they can use?
- Are you building your list and want them to subscribe?
- Or do you plan to sell them something?
This post is about how to use the content but if you’re interesting in ways to make your done-for-you content unique here is a post about Using Stories.
Step 2: Rename & Brand the Report
The next step is going to rename the report that you’ll get. You don’t want your audience to be able to tell that the report that they’re getting from you is done-for-you content.
That means you’ve got to pick a name and then add your brand colors to it. You’re getting a Canva Template for the eCover so this makes that part super easy to do.
I usually go to Amazon in the book section and type my keywords. For this one it is: Vision Boards
I don’t copy what I see but I scroll through all of them and write down “Power Words” that others use. Then I’ll start combining them and adding my own until I come up with something that I like.
Pinterest would be a great resource for this as well.
Once you’ve renamed, rebranded and add any more info you’d like in the report you’ll want to save it as a PDF.
Step 3: Make a Landing Page And/Or Form
The next step you’re going to want to do is add a landing page and/or a form in your email software. I personally use ConvertKit to do this.
I said to do and/or and I think you should do both of them because you’re going to use each of them and since you’re already working on this content you might as well do both of them.
Why?
Because you’re going to use the form at the bottom of each of the blog posts. Yes, this will make it repetitive for your audience but there is one major reason to do this.
Some people don’t want to click the link from one to the other (if the series is completely up) – they’d rather just download and read one PDF file.
The landing page will be for people who haven’t found your series or for you to to collect leads.
Step 4: Use the Intro Emails For Multiple Purposes
You’re going to get intro emails so that you can share these blog posts. These can be used for multiple things.
As a business owner I’ve found that there are TONS of places that you just need a few words to share your blog post. This could be in an email series such as your welcome series, in the P.S. section of your email, on social media when you want to share that post now and in the future and other places you can syndicate your work.
In order to use the intro emails in all of these places, you might have to reword the intro emails to work with the platform that you’re using but it is well worth the extra minute or two to do this.
I’d also create a spreadsheet with all of this information or put it somewhere like Evernote or Trello. Having it handing is going to make it easier when you want to re-share the content.
Step 5: Create a Content Plan For This Topic
Once you’ve set up your blog posts, added your emails to the right email sequences, and made the report your own – now you’re going to want to make a plan.
This means you’re going to want to pick days of the week to schedule the posts and then when are you going to share them with your email list and with your social media audience?
You’re getting 50 done-for-you social media posts that can all lead back to your blog posts and your landing page. You don’t have to use them all but you want to make sure that your audience gets ample opportunity to read your blog post and opt-in to your list with the report.
Does this sound overwhelming? I found a great (and free!) resource to do this – Buffer. You can even use a sister site to add all the graphics: Pablo By Buffer. I’m not sure if you can schedule with the Pablo but you can quickly make, share and download the images.
Using done-for-you content is a powerful tool but you’ve actually got to sit down and do it. I’ve done a lot of the work for you but this will probably take a few hours to finish. That might sound like a lot but with as many steps as I outlined a few hours isn’t much time to content on your blog and working effectively for your business.
I want to be clear that you don’t have to use it as I outlined above – you can do anything you’d like. So if you have an idea to create a workbook out of it – do it. Or maybe you wanted to take the blog posts and create a podcast – do that.
There are unlimited ways that you can use the content – just pick one, schedule the time to get it done and start using it today.
If you have any questions about the steps above or how to use the done-for-you content that you have – please let me know.
~April
P.S. Don’t forget to go get the DFY Vision Board Inspiration For a New Life Content Bundle.
P.P.S. The steps outlined above can easily be used for any of the DFY Blog Series & Marketing Kits on Niche Starter Packs.
Want to share this? Here is a PIN:

Shop Our: