How to Turn Articles into Videos

Pre-written content provides great benefits by itself, but did you know you can increase its power by turning articles into videos?
Videos are extremely effective at engaging your audience and attracting new potential customers. However, knowing how to turn your done for you content into video format takes a little time and research.
To help, here I’ll reveal how to turn your pre-written articles into killer videos.
Follow the steps provided below…
Step 1: Use a listicle type article
Although you can turn any pre-written content into a video, it’s easier to start with a listicle type article. Why? Because you can turn each list item into an individual slide using software such as PowerPoint.
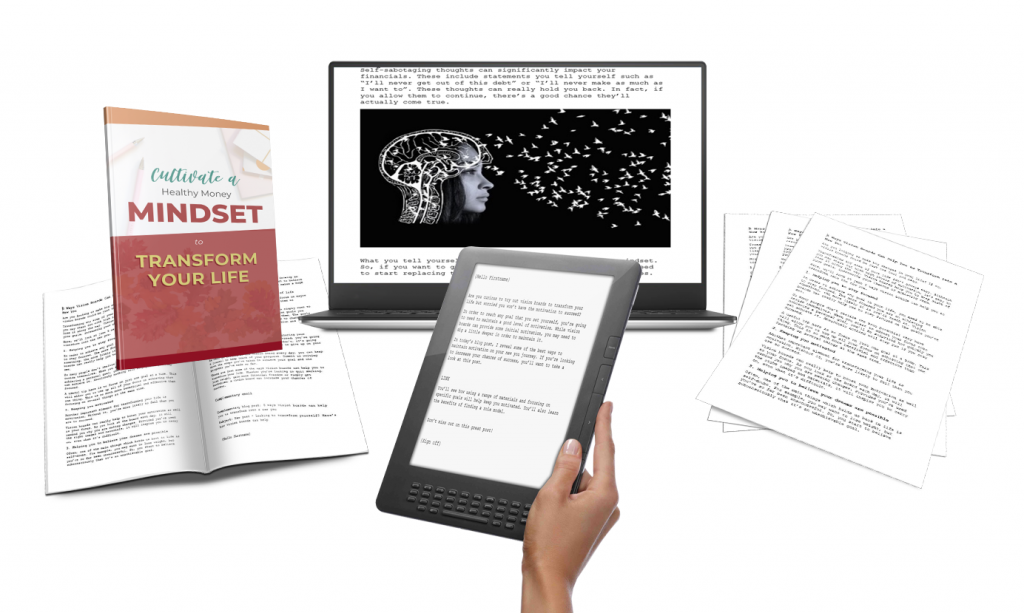
Take the “5 Failsafe Ways to Develop a Positive Money Mindset” in Niche Starter Packs top-selling Healthy Money Mindset pack for example. You could add a slide in the video for each of the 5 failsafe ways provided.
When you use a different type of article to create videos you’ll do it a little different. The list type articles already have the main topics outlined for you, so if they don’t you’ll read through the material and make a list of the main topics, as well as the subtopics.
Once you’ve written them down, you’ll use those for the topic for each slide.
Step 2: Find images for each list item or main topic
Once you’ve decided which topics you’ll be including in the video, you’ll want to find images for each of them. Images are far more powerful than written words, particularly when you’re creating a video.

A free place that I use quite often is Pixabay. Make sure you check the terms, but this is a site where the images are royalty-free which means you can use them for free as personal use or commercial use.
I have a list of 9 Free High-Quality Free Stock Photo Sites You Should Have Book Marked if you’d like to find more.
If you really want your video to stand out, you could also find short video clips instead of images to complement the content.
Step 3: Edit the content into short paragraphs
You’ll want to use as little written content as possible in your videos.
So, it’s a good idea to edit it into short paragraphs. Think short and concise. Tell the audience everything they need to know in as few words as possible.
Think about it, very few people want to watch a 10-15-minute video when they could learn the same level of information in 3-5 minutes.
This is a skill and will take a few tries to get the hang of. Don’t give up and remember that once you’ve learned the skill it’ll be quicker and easier in the future.
When you’re doing this also think about what you want to convey to your audience. Your values, your voice, your opinion, and your brand.
Step 4: Choose some background music
If you don’t plan on speaking much in the video, you’ll definitely want to add some background music. Ideally, the videos you create should have background music in the intro at least. This helps to grab the viewer’s attention, keeping them more engaged for longer.

When picking the music find a place where you’re allowed to use the music. Music is like videos and they aren’t free to use (unless the terms say they are). Make sure the resource clearly states what the terms are.
Step 5: Decide how to format it
In these videos you’ll be using Powerpoint Slides, so your decision is to decide whether you’ll be adding your own voiceover. Another option would be to outsource this to someone else or even use an automated voiceover service.
Before you do this I’d think about one thing:
- Are you trying to build a brand?
If you are, use your own voice for these videos. It is so important for people to get to know you and if you’re using an automated voice or someone else your audience can’t get a feel for who you are.
There are always exceptions to the rule. You could hire someone else for certain types of videos and let your customer know it isn’t you but you’ve got the license to use them.
Another way you could use an automated voice or someone else is if you’re creating videos for niche sites.
Step 6: Make use of free editing software
Once you have the main basis of the video put together, it’s time to actually turn it into one. You can do this through free software, but it’s better to use a paid option such as Camtasia if you want to deliver professional-looking results.
The editing software will allow you to organize all of your images, text, music, and voiceover.
Another option that I like is Screencast-O-Matic. It is easy to use, less expensive and the learning curve isn’t as high as Camtasia.

I use Camtasia now and they’ve got more features, so there are pros and cons for both video softwares.
Step 7: Create a thumbnail image
If you plan on putting your video onto YouTube, you’re going to need to create a thumbnail image. This should be a relevant image that represents the theme of the video.
You’ll find it easier to create this image with free software such as Picmaker. You can also use Canva.
I haven’t used Picmaker but it looks like it is specifically for thumbnails so it might be the better option.
Step 8: Create a branded intro
Don’t forget to add a branded intro to the video. This should include your logo or the title of the content. It basically sets your video apart, helping you to subtly advertise yourself before the video starts.
Not only that but people will want to know what the video is about and by including the title they’ll know right from the start. I know sometimes when I’m focused or I’ve been working on the same content for a while I forget to add the title. 🙂
If you follow these simple steps, you’ll be able to turn articles into videos in no time and then you’ll have a killer video ready to share with your audience.
Give it a go and let me know how you got on in the comments below.
~April
P.S. The great thing about using done for you content to create videos is that it takes far less time than creating the content from scratch.
Would you like to save this blog post to read later? Here is a PIN you can use:
Shop Our: